
This article outlines the process for configuring your Appointment Types.
IMPORTANT Ensure Activate online bookings remains Off until all setup steps are finished to avoid incomplete online bookings.
In this article:
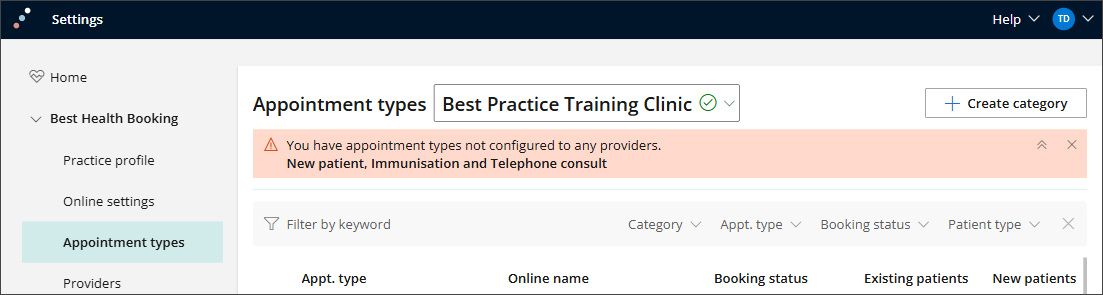
- Select the Appointment types tab.
- Create appointment Categories (optional).
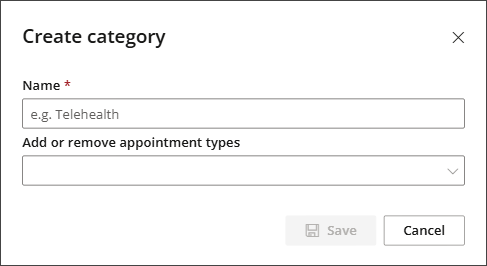
- Create an appointment category by selecting + Create category and giving this category a name.
- If an appointment type is already assigned to a category, you’ll see this noted when choosing types for a new category.
- Drag and drop appointment types to add them to or remove them from a category. Use the trash icon to delete a category and the pencil icon to edit it.
- Go through the Appointment Types list and switch On any appointments you want offered via Best Health Booking. Each type can be enabled for new patients, existing patients, or both.
- Use the direction icon
 to drag and drop items and adjust the order shown to patients.
 - Select an Appointment Type to open the Appointment Details tab.
- The Online Name and Online Description appear to patients when booking online. You can replace the default Bp Premier text to give patients more specific guidance about selecting the right appointment type.
- Set Existing Patient to Yes (toggle to the right) to allow this appointment type to be booked online by patients who are already in the Bp Premier database. The appointment length displayed below is fixed and cannot be changed here, as it is controlled by your Bp Premier configuration.
- Set New Patient to Yes (toggle to the right) to make this appointment type available online for patients who have not yet registered at your practice. You can adjust the appointment length as needed. For example, you may wish to add an extra 10 minutes to allow time to complete forms and enter patient details.
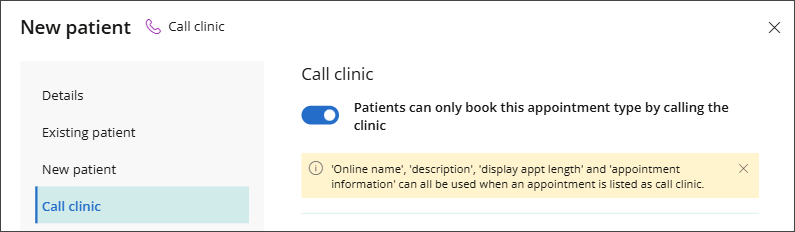
- Set whether this appointment type requires the patient to Call the Clinic to book, or if it can be booked online.
- Appointment Information allows you to provide patients with additional details before they book. This helps patients decide whether the appointment type is suitable for their needs.
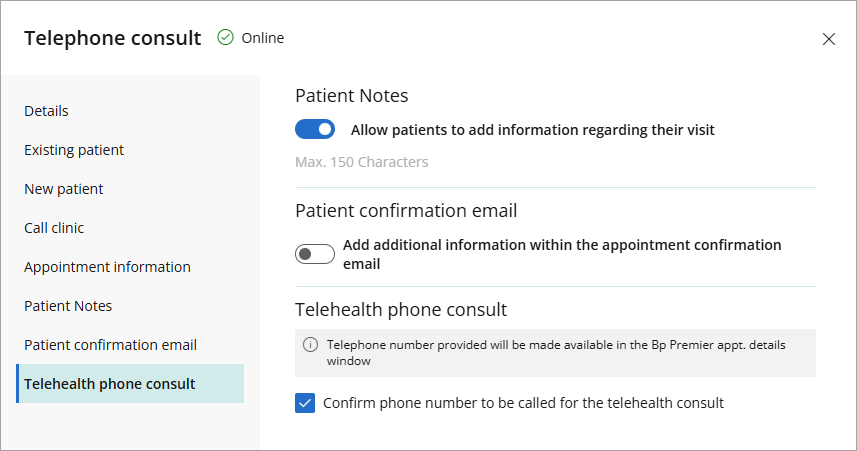
- Switch Patient Notes to On to allow patients to indicate what they want to discuss during their appointment.
- If your patients can book telehealth appointments online, tick Confirm phone number to be called for the telehealth consult.
- If you switch Patient confirmation email to On, a new dropdown section will appear. This lets you tailor a confirmation email for each appointment type. For example, a short check up may not need any preparation, while a procedure or health review might require patients to complete certain tasks beforehand, which you can include in the email.
- Type a word or phrase in the text field that will be the hyperlink.
- Click and drag to select the hyperlink text.
- Click the link icon in the toolbar
 .
. - Type the website address you want to open in Enter link and click Save.
- When your changes to the Appointment Details screen are complete, click Save.

This tab defines which Appointment types are available for Online booking and allows you to customise the descriptive text shown to patients. The list displays all Appointment types configured in Bp Premier (Setup > Configuration > Lists > Appointment Type).
A warning will be displayed at the top of the page to show any unassigned Appointment types.
Create Appointment Categories
For clinics offering a wide range of online appointments, categories help group similar services into logical sections. This makes it easier for patients to navigate their options and choose the most appropriate appointment.


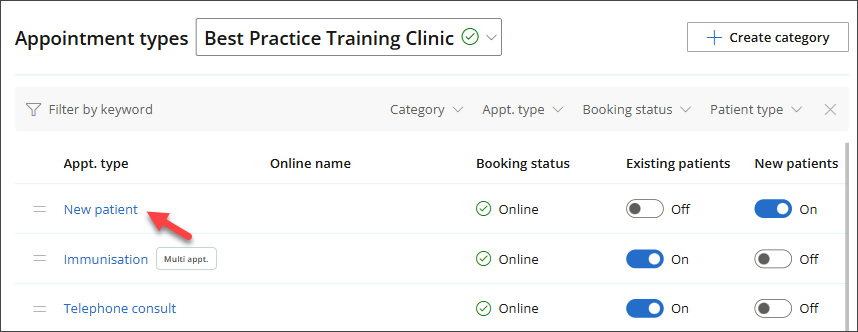
TIP A green check mark in the Booking status column indicates that this appointment type is enabled for online booking.

Enable the appointment type for new or existing patients
You can disable specific appointment types from online booking for new or existing patients. Default (or system) appointment types cannot be disabled for online booking.
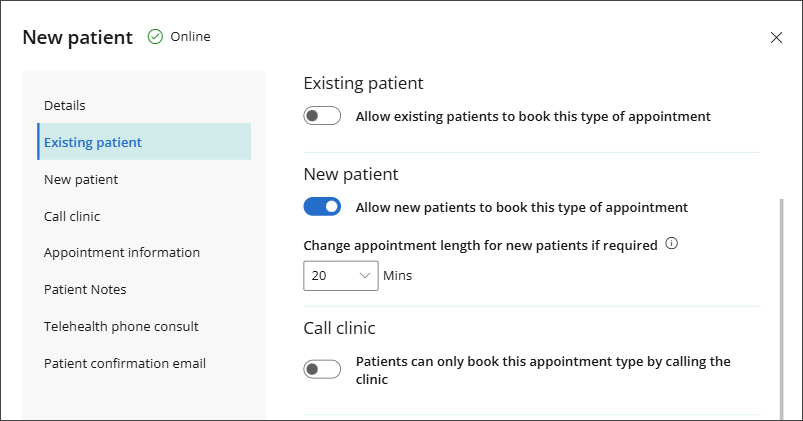
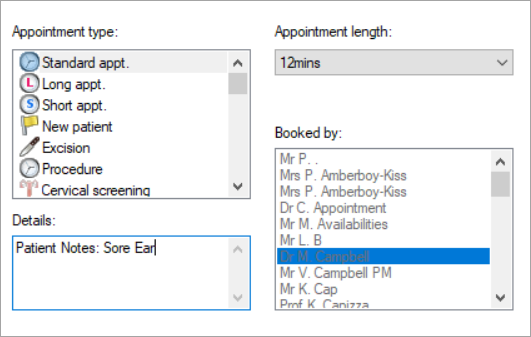
The updated appointment length will automatically flow through to the Bp Premier appointment book when the appointment is made, so there’s no risk of double booking.
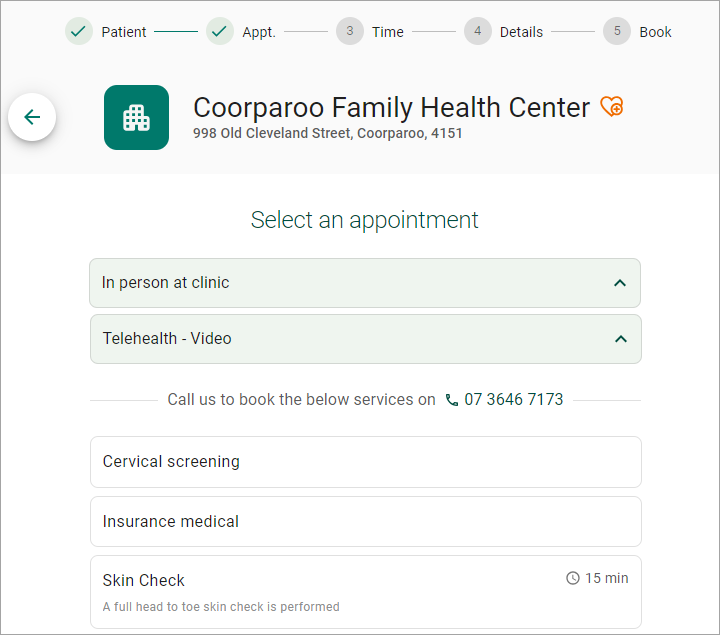
For example, you may want to reserve certain complex services that require additional discussion with patients. Enabling this toggle gives you the option to speak with the patient by phone before they proceed with the booking. When activated, it will appear to patients as shown below:
Additional Appointment Information

Below is an example of how this information will appear to a patient booking online with your clinic.

Allow Patient Notes

The notes entered by the patient will then appear to clinical and administrative staff in the appointment details window within Bp Premier.
Telehealth phone consult
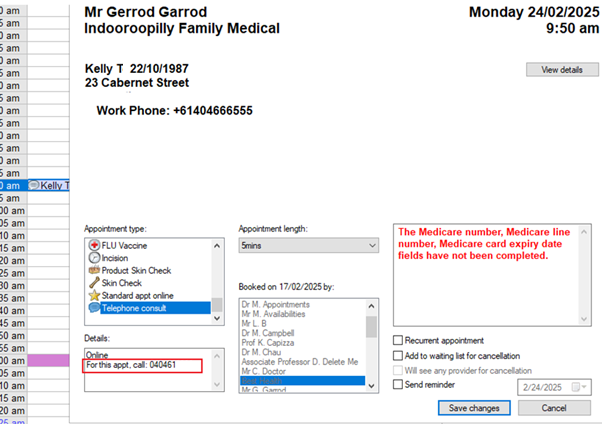
Patients will be prompted to confirm their best contact number when booking.

This helps prevent missed calls caused by incorrect details, saving time for both patients and providers. The confirmed number will appear in Bp Premier as shown below.
Create a confirmation email
Your message can be up to 4000 characters. Images aren’t supported, but links are allowed. Use the rich text toolbar to add headings, format text, and create numbered or bulleted lists.

To add a hyperlink:

Last updated: 22 May 2026.
What do I do next?
You can now select which of your providers can be booked online, and create an online booking profile for the doctors who opt in from the Providers tab.


 AU
AU 