
This article explains how to create tasks and reminders in the clinical record, and how to action tasks via either the clinical record or the clinical reminders screen.
Clinical Notifications is a term that includes both Clinical reminders and Clinical tasks.
A Clinical Task is an action that you assign to yourself during a consult that must be completed by a future date. An example of a task could be to review the patient's medical history.
A Clinical Reminder is a reminder for the patient, created by the clinic. An example of a clinical reminder would be a clinical review, assessment, a BP check or a care plan.
In this article:
Set up Clinical Reminders
IMPORTANT To manage Clinical Reminders in Bp Omni, users must have security permissions for Practice information set to Administrator. See Configure Business Roles and Security Permissions for more information.
- To create and manage clinical reminders in Bp Omni, click on your profile icon located in the top-right corner of the screen, then select Settings.
- Select Practice & locations from the menu options on the left.
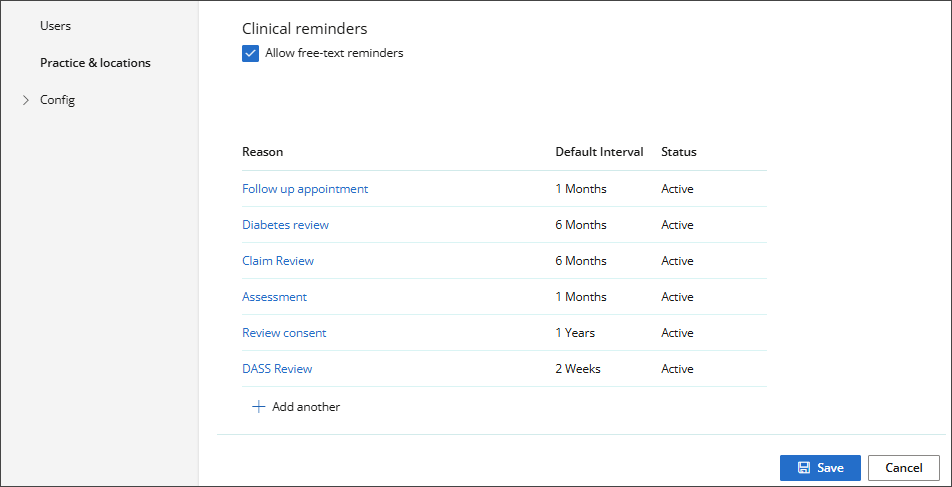
- Scroll down to the Communications card > Clinical Reminders.
- To allow providers to record free-text reminders and internal comments, tick Allow free-text reminders.
Add a new Clinical Reminder reason
- To add a new Clinical Reminder reason, click on your profile icon located in the top-right corner of the screen, then select Settings.
- Select Practice & locations from the menu options on the left.
- Scroll down to the Communications card > Clinical Reminders.
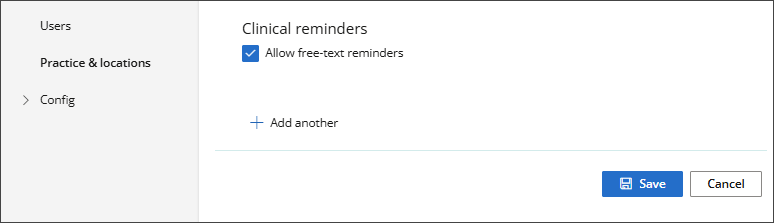
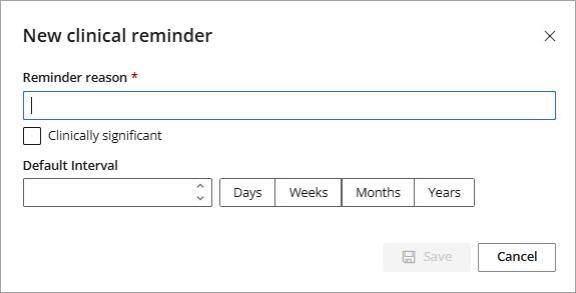
- Click + Add Another. The New Clinical Reminders modal will appear.
- Enter a descriptive Reminder Reason name.
- If applicable, tick Clinically significant to indicate that this reminder reason is clinically significant.
- Set a Default Interval time period in days, weeks, months, or years.
- Click Save.
Edit a Clinical Reminder reason
- Click on your profile icon located in the top-right corner of the screen, then select Settings.
- Select Practice & locations from the menu options on the left.
- Scroll down to the Communications card > Clinical Reminders.
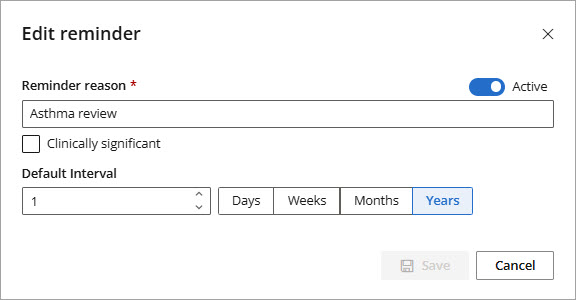
- Select the reminder Reason from the list. The Edit Reminder modal will appear.
- Edit the reason, clinical significance or interval.
- Click Save.
Add a Clinical Reminder
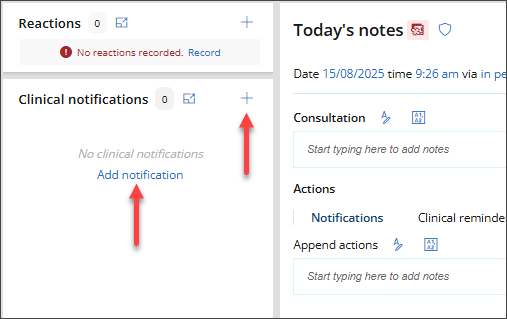
- From the left-hand Clinical Notifications panel, click the + plus icon or Add notification.
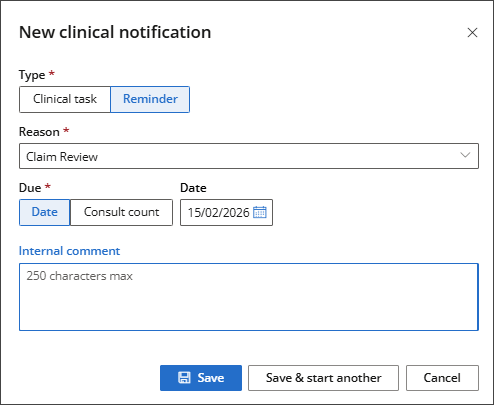
- The New Clinical notification modal will appear. Set the Type to Reminder.
- Select a Reason from the available list or free text to create a new reason.
- Specify when the reminder is Due.
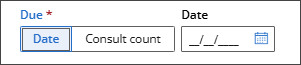
- Enter a Date: For existing reminder reasons, the due date is set to the interval specified when the reminder reason was created. This can be adjusted as needed.
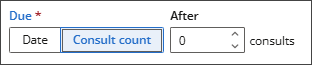
- Consult Count: Set the reminder due date to be after a specified number of consults.
- If relevant, record an Internal comment. This field has a maximum of 250 characters.
- Click Save or Save & start another.
TIP A new reminder Reason can only be recorded if Allow free-text reminders has been enabled.
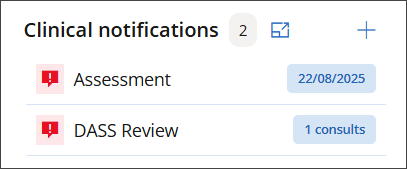
The Clinical Reminder will appear in the Clinical Notifications panel and in the Patient Summary > Clinical Notifications section of the Patient Record. Clinical Reminders can be easily recognised by an  exclamation icon.
Add a Clinical Task
- From the left-hand Clinical Notifications panel, click the + plus icon or Add notification.
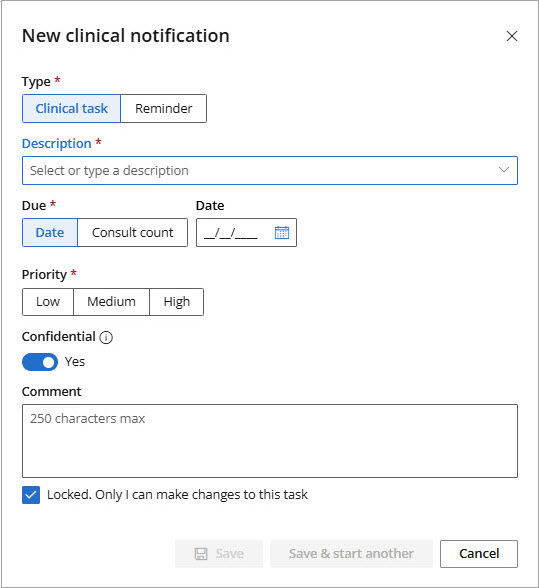
- The New Clinical notification modal will appear. Set the Type to Clinical task.
- Select a Description from the available list or free text to create a new description.
- Specify when the task is Due.
- Enter a Date: The due date will be set to the default interval time, based on the selected Task type. This can be adjusted as needed.
- Consult Count: Set the task due date to be after a specified number of consults.
- Set a Priority for the task.
- If applicable, toggle the Confidential switch to Yes.
- If relevant, record a Comment. This field has a maximum of 250 characters.
- To prevent others from making changes to the task, tick Locked.
- Click Save or Save & start another.
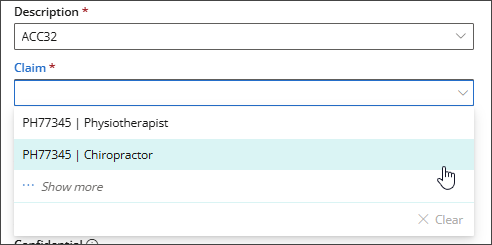
If ACC32, Claim Review or Outcome Measure Report is selected from the Description field, a Claim menu will be displayed, and a Claim must be selected.
If multiple provider types are involved in treating the claim, each provider type will be displayed in the list next to the claim number.
The task will be displayed in the Clinical notifications panel located on the left side of the clinical record.
Action Clinical reminders and tasks
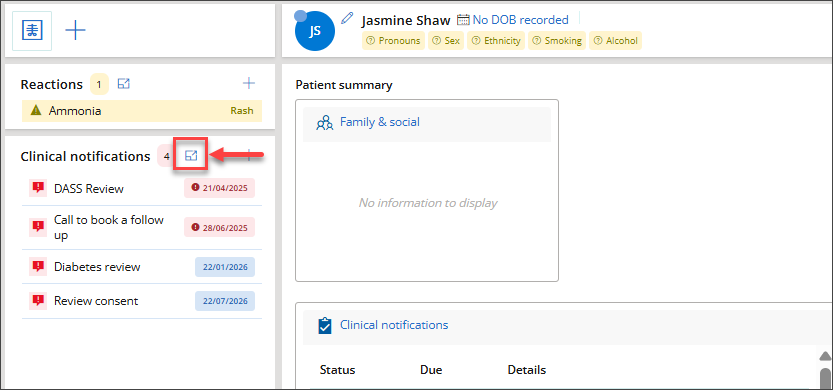
- Open the clinical record and go to the Clinical Notification panel on the left-hand side.
- Click the Maximise screen icon to open the Clinical Notifications screen.
- The Clinical Notification screen displays upcoming and overdue clinical Reminders and Tasks.
- Select a Reminder or Task from the list and select an Action from the options available:
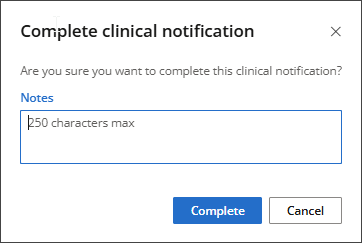
- Mark as Completed: The Complete Clinical Notification modal displays, prompting confirmation. If applicable, record a Note and click Complete. The Reminder/Task is removed from the list.
- Edit: The Edit Clinical Notification modal displays. Make any necessary changes and click Save.
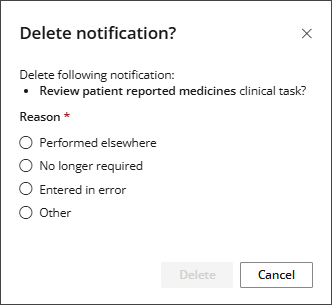
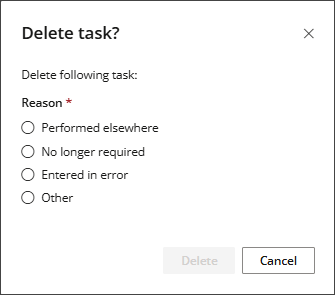
- Delete: The Delete Notification? modal displays. Select a Reason (Performed elsewhere, No longer required, Entered in error, or Other) and click Delete. The Reminder/Task is removed from the list.
Use the Filters at the top of the screen to refine the list. Filter by Type (Reminder or Task), Status, Priority, or due Date, or limit the view to only Tasks , Reminders, or Overdue.


Action clinical tasks from To Do
- From the top bar, select To Do > Clinical Tasks. The Clinical Tasks screen will appear.
- Select a Task from the list and select an Action from the options available:
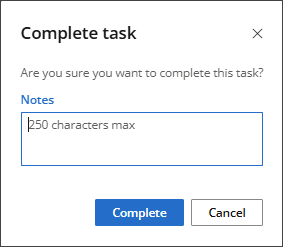
- Completed: The Complete Tasks modal displays, prompting confirmation. If applicable, record a Note and click Complete. The Task is removed from the list.
- Edit: The Edit Clinical Task modal displays. Make any necessary changes and click Save.
- Delete: The Delete Task? modal displays. Select a Reason (Performed elsewhere, No longer required, Entered in error, or Other) and click Delete. The Task is removed from the list.
- To view all Clinical Tasks marked as Completed, start by clicking Clear on the Status filter to remove all existing filters, and then tick Completed.
The Clinical Tasks screen will, by default, show all upcoming and overdue tasks.
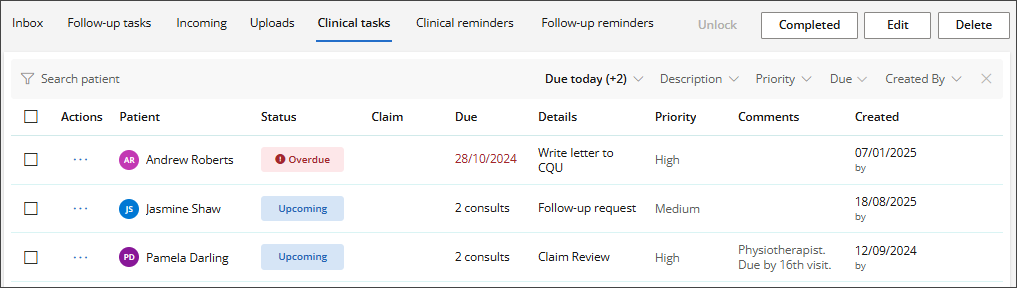
TIP Use the Filters at the top of the screen to refine the list. Search for the patient by name, or filter by Status, Description, Priority, Due date or Created by.
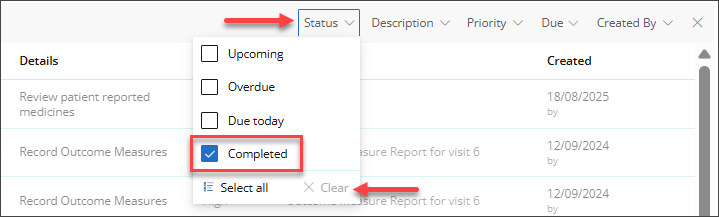
The list will be updated, displaying only the Clinical Tasks that are marked as Completed.
Last updated: 20 August 2025.


 AU
AU 