
This article explains how to send a Pre-Assignment of Benefit form via SMS or printed paper form.
IMPORTANT On the 18th of June it was announced that the Government has revised the Assignment of Benefit transition timeline. Please read this article for more information.
Send a digital form via the appointment book
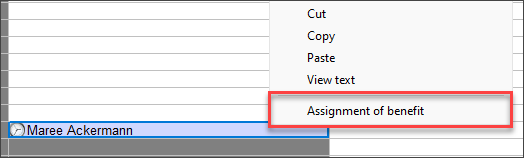
- From the Appointment book, right click on a booking.
- Select Assignment of benefit.
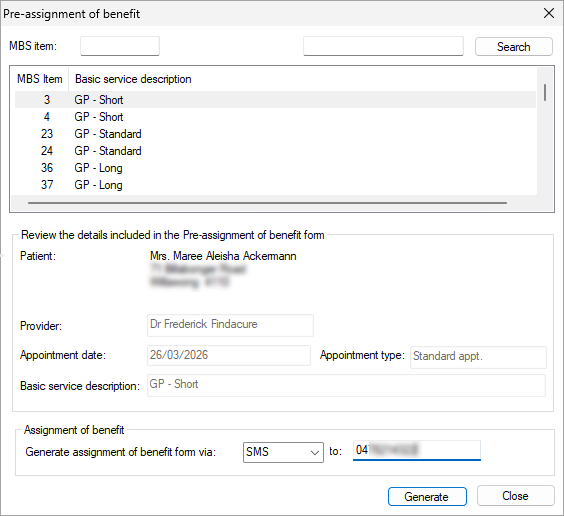
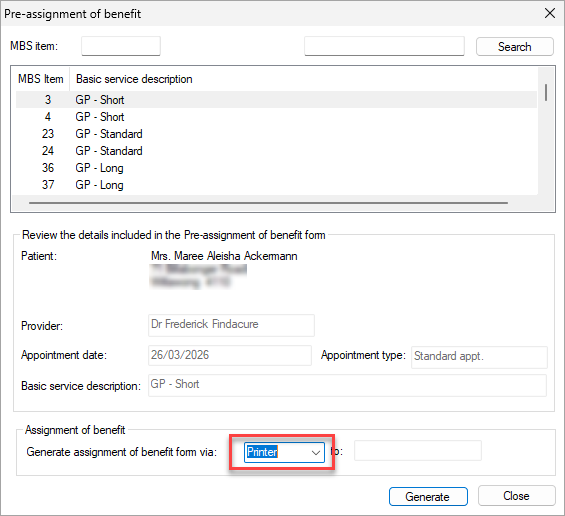
- From the Pre-assignment of benefit screen, select the Basic service description anticipated for the appointment.
- Under the Assignment of benefit heading, select SMS from the dropdown next to 'Generate assignment of benefit form via:'. The phone number will be automatically populated from the Mobile Phone number field in the Patient details screen.
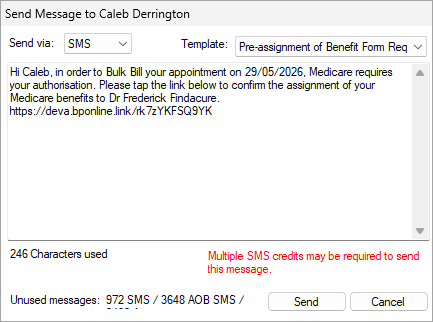
- Click Generate. The Send Message screen will display with the Pre-assignment of Benefit Form Request Bp Comms template. Click Send.
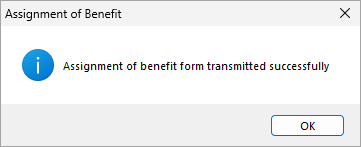
- Pre-Assignment of Benefit SMS Request is sent.
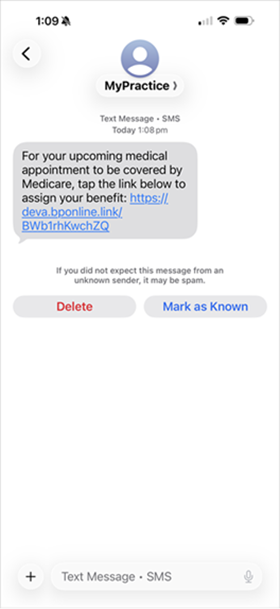
- The patient receives an SMS of the Pre Assignment of Benefit Form Request Bp Comms Template.
- After clicking the link in the SMS message to the Assignment of Benefit form, their device will launch a webpage requesting them to verify their identity with their date of birth.
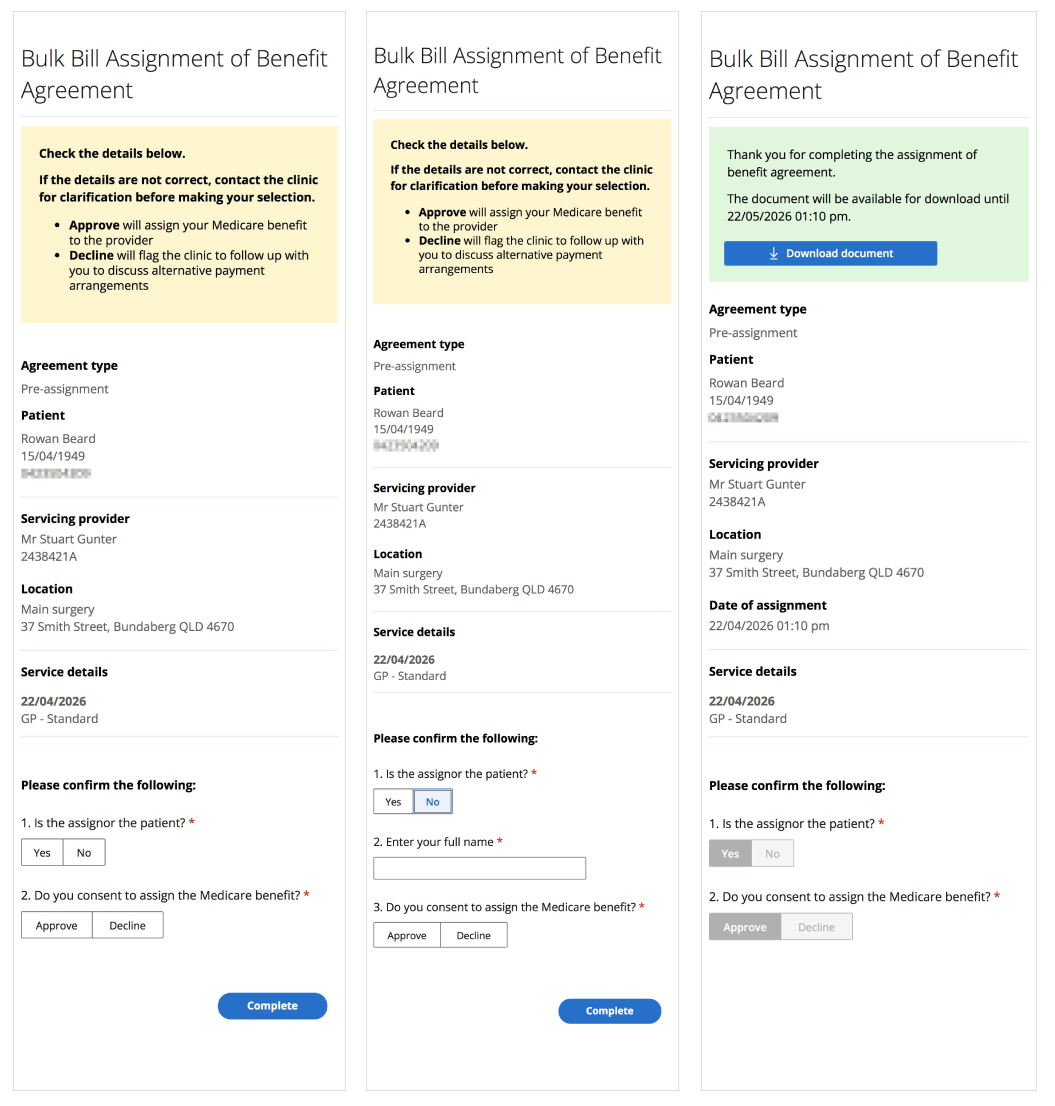
- Once the patient's identity has been verified, they will be able to complete and download their Bulk Bill Assignment of Benefit Agreement form. Downloading the document is optional for the patient.
NOTE If Cancel is selected from this screen the Status of the request will be updated to Delivery failed in the Follow Up Assignment of Benefit screen.

TIP Sent requests can be managed from the Follow up Assignment of benefits screen access from the AppointmentBook > View, or from the Bp Premier main screen > Management.
Print a paper form via the appointment book
- From the Appointment book, right click on a booking.
- Select Assignment of benefit.
- From the Pre-assignment of benefit screen, select the Basic service description anticipated for the appointment.
- Under the Assignment of benefit heading, select Printer from the dropdown next to 'Generate assignment of benefit form via:'.
- Click Generate.
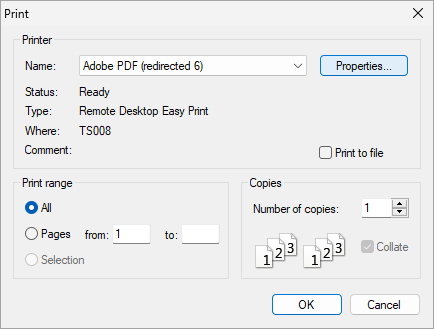
- Ensure the correct printer is selected and click OK.
-
The Pre-assignment of benefit form will be printed.

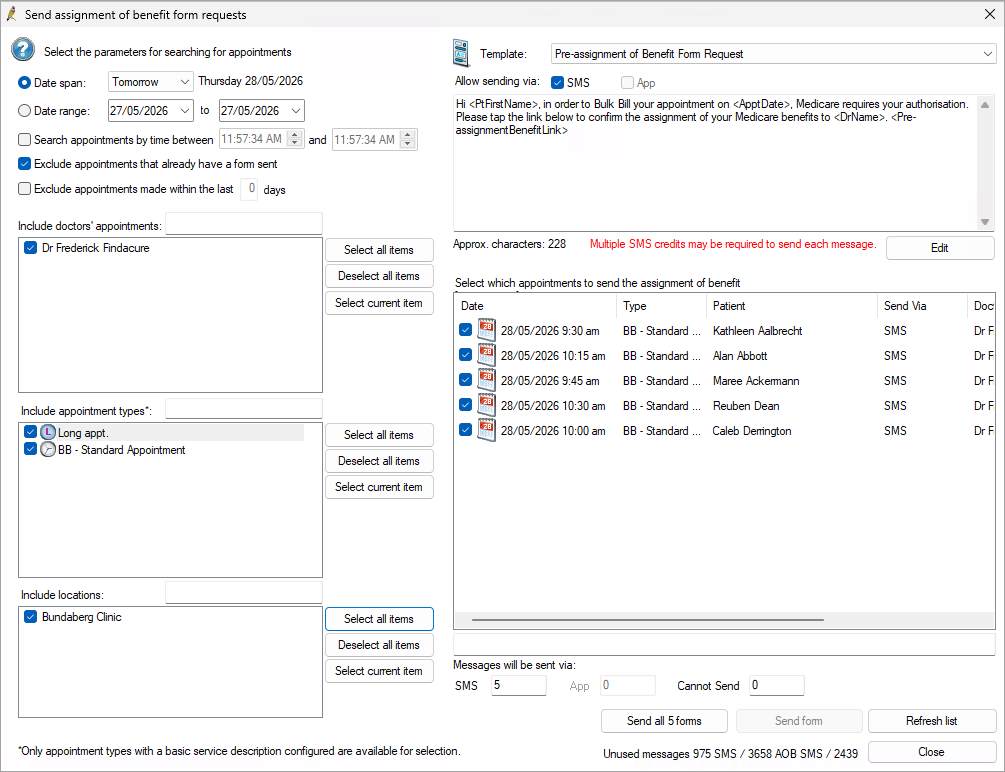
Bulk Send SMS for booked appointments
Send Pre-Assignment of Benefit requests forms in bulk through the Send assignment of benefit form requests screen.
- From the Appointment book, go to Utilities > Send assignment of benefit form requests.
- Select the parameters for appointments as you normally would in the Appointment reminders screen. The option to Exclude appointments that already have a form sent is enabled by default.
- The Template will be set to Pre-assignment of benefit request by default. Click Edit to make changes before sending.
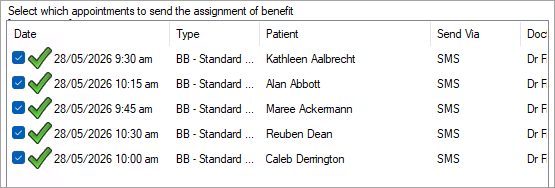
- Select which appointments to send the assignment of benefit form request for.
- Click Send all forms to send requests to all of the selected appointments. Click Send form to send for a single appointment.
- Pre-assignment of benefit request forms will be sent.
NOTE Only Appointment types with a basic service description configured will be available to select.
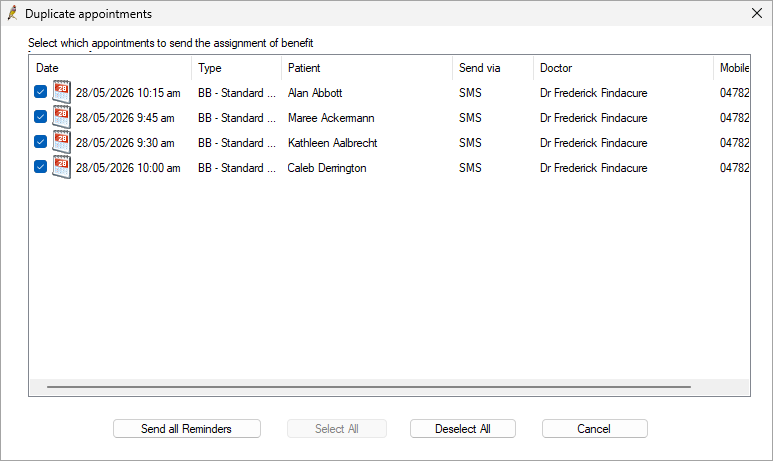
If there are appointments for patients with the same phone number listed, the Duplicate appointments screen will launch before sending SMS messages.
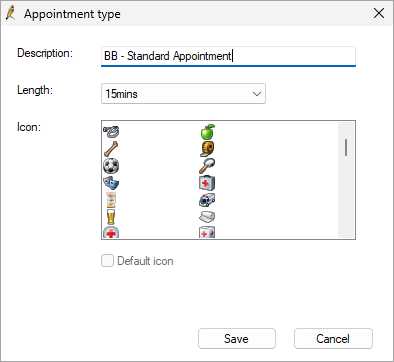
Basic Service Descriptions for mixed billing clinics
For mixed‑billing practices, or for practices that do not intend to bulk bill every Standard Appointment type, it is recommended that custom Appointment Types be created. See Basic Service Descriptions for mixed billing clinics for further instructions.
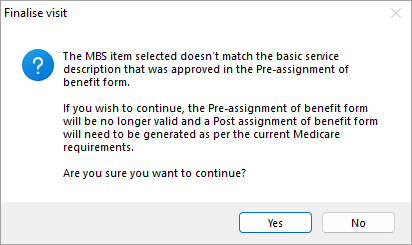
Changing an item in the Finalise Visit screen
If an item number is selected in the Finalise Visit screen that does not match the Basic Service Description that was approved in the Pre-assignment of benefit form a prompt will display informing the user that the pre-assignment of benefit form will no longer be valid if they continue and a post-assignment of benefit form will need to be collected.
Last updated: 15 June 2026.


 AU
AU 